Hello Venturers! Welcome back to my voice typing out to you! This is Gus of Fo’sheimer and Filles Fabrications: Making Innovative Uproars Since the Late Nineties.
So, time is of the essence! Our first mile stone is due in three week (AH!) and it consists of a scaled model with our final floor plan of choice modeled within, our final floor plan itself, load calculations for all the appliances needed, a solar array and a budgeting spread sheet with specific, green appliances selected. It might be a little bit rough. Maybe. I am personally not too concerned because Erf and I have split the work so neither of us is alone in the modeling or alone in the electric business. But, for the time being, I am most concerned with the modeling. And so, as you shall soon see, I looked into it a bit.
Modeling is important for us to do well, not only because it solidifies our floor plans, but also it is what we will use when the teachers vote on to select a winning floor plans. I looked at an online model-making guide and found some seemingly useful tips, although I won’t really know until tomorrow when we begin the modeling adventure.
-
- Use as little material variety as possible to give the model more fluidity and make it more beautiful
- Build a strong base that doesn’t bend easily so your amazing structure doesn’t explode/collapse
- Insulation board cardboard is good for scale modeling
- Mounting board helps to keep corners and spaces more discreet (in other words, disguises one’s inevitable mistakes, so I think mounting board is the material for me!)
- Kappaboard (which is like that science fair material with a layer of foam sandwiched between two layers of card), is good for interiors of buildings
- For paper, cardboard, and wood, PVA Adhesives work best
- ex. wood glue, white glue, carpenter’s glue, school glue, Elmer’s glue, etc.
- materials must be clamped while drying
- For metal, plastic and some woods, use contact adhesives
- ex. liquid nails, natural rubber, etc
- dries/sets on the spot
- For wood, cardboard, metal, and glass, use Balsa cement
- dries quickly
- type of glue
- For hard plastic, use Polystyrene cement
- dries quickly as well
- Use a steel edge ruler or straight-edge so you don’t damage the utensil (Imagine slicing up a piece of wood! Powerful stuff!)
- Have a heavy knife for cutting cardboard and a lighter, Hobby-Lobby or Exacto knife for paper, balsa and lighter cardboard on hand so you can use one for working and one as a defense mechanism. Just kidding.
- Potentially use a carpet knife, because it cuts at an angle
- When cutting, don’t try to just slice right through. Lightly cut or indent and then deepen it multiple times until you’ve cut the material
- Don’t cut right on a table; have something underneath so you don’t destroy the entire classroom. This is something with which I have a lot of experience. For example, last POE class I accidentally mutilated a scale.
- Make the model as simple as possible and do not try to recreate every single detail (Thank goodness!)
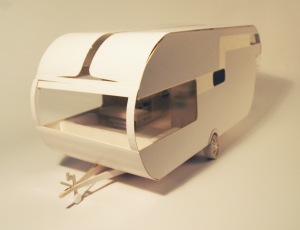
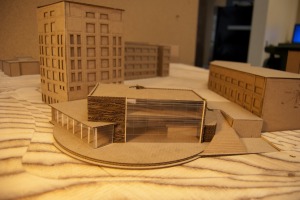
That is all the advice I can possibly offer. To myself. Now for a few inspiring pix!
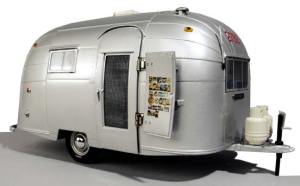
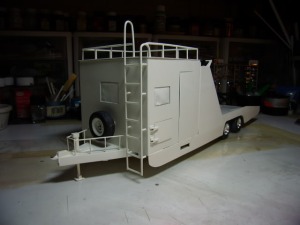
- This trailer looks pretty good. Maybe we could just use this one.
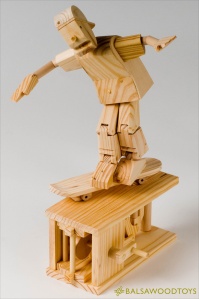
Maybe we could make this little guy to stand in our trailer model. Just kidding. We don’t have time for that.
I am officially signing out! Farewell!
